


Got BNB on BNB Chain and want ETH on Ethereum? Maybe you’re eyeing a DeFi app that only runs on Ethereum, or just rebalancing your portfolio. This guide walks you through exactly how to swap BNB to ETH, step by step, with no assumed knowledge.
One thing to know first: BNB and ETH live on two completely separate blockchains. You can’t simply “send” BNB to Ethereum and watch it arrive as ETH — you’ll convert it using a crypto bridge or a centralized exchange. We’ll cover both routes, compare them, and show you how to dodge the mistakes that cost beginners real money.
id=”what-is-bnb-to-eth-swap”>What a BNB-to-ETH Swap Actually Involves
Let’s clear up the core concept first, because it shapes every decision you’ll make in this guide. BNB is the native coin of BNB Chain. ETH is the native coin of Ethereum. These are two independent blockchain networks with their own validators, their own transaction histories, and their own fee markets. A coin that exists on one chain does not automatically exist on the other.
Here’s the twist that confuses beginners: BNB Chain is EVM-compatible, so wallet addresses look identical on both networks. Your 0x address on BNB Chain is character-for-character the same as “your” address on Ethereum. Convenient — and the single biggest trap in cross-chain swaps, as the safety section explains.
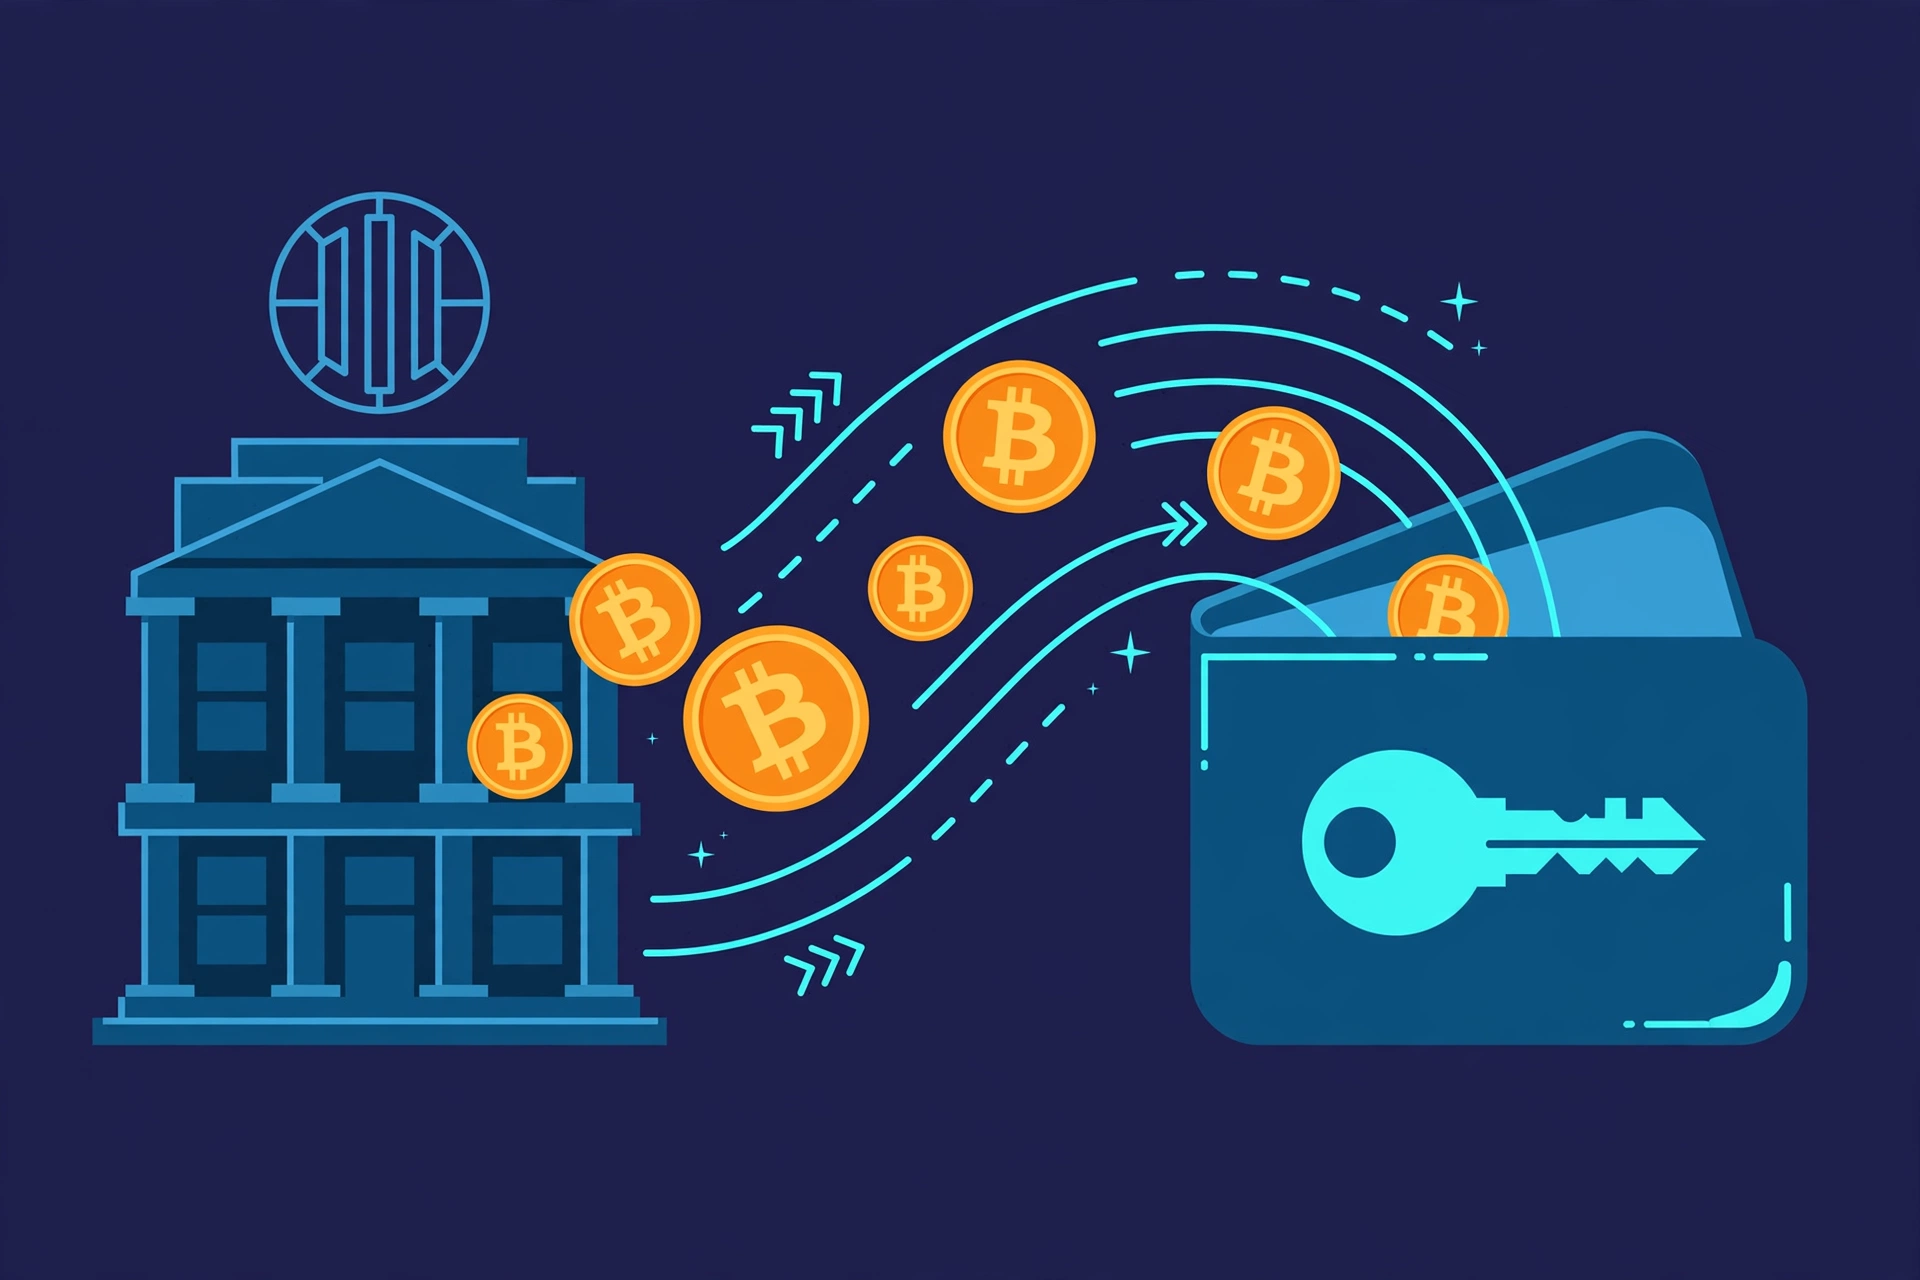
Because the two chains are separate, a “swap” from BNB to ETH is really a conversion that happens through a middleman. There are two kinds of middlemen, and you’ll pick one of them:
- Bridges are decentralized protocols — smart contracts that lock your BNB on BNB Chain and, through liquidity pools on the other side, release an equivalent value of ETH to you on Ethereum. No account, no company holding your funds, no ID checks.
- Centralized exchanges are companies. You deposit your BNB with them, they credit your account balance, you trade BNB for ETH on their internal market, and then you withdraw ETH to your own wallet on Ethereum.
Either way, you finish with native ETH in a wallet set to the Ethereum network. The path you take is what this guide helps you choose — and execute safely.
Your Two Main Options: Bridge vs Centralized Exchange
Let’s compare the two routes the way you’d actually experience them, so you can pick the one that fits your comfort level.
The bridge route keeps you in control from start to finish. You connect your own wallet to the bridge’s website, choose BNB Chain as the source and Ethereum as the destination, enter how much BNB to convert, and confirm. There’s no signup and no identity verification. Timing runs from a few minutes to about half an hour depending on the bridge’s relayers. You’ll pay a small protocol fee plus gas on BNB Chain (cheap) and for the Ethereum-side delivery (a few dollars, taken from your swap). This route suits you if you already keep your own keys and prefer not to hand custody to a company. If you’ve never evaluated a bridge before, our guide on how to evaluate bridge trust models shows what to check before connecting your wallet.
The exchange route feels more like using a bank app. You create an account (usually with ID verification), deposit BNB to the exchange’s BNB Chain deposit address, sell it for ETH on their spot market, and withdraw the ETH to your personal wallet on Ethereum. Deposits and withdrawals each take around 15 minutes. You’ll pay a trading fee plus a flat ETH withdrawal fee — check that fee before you start, since it’s often the biggest single cost of this route. This suits beginners wary of self-custody wallets, or anyone moving a large amount who wants customer support.
| Aspect | Crypto Bridge | Centralized Exchange |
|---|---|---|
| Custody of your funds | You keep your keys the whole time | The exchange holds funds mid-process |
| Account / ID needed | No — just a wallet | Yes — signup plus usually ID verification |
| Typical total time | ~5–30 minutes | ~30–60 minutes (deposit + trade + withdrawal) |
| Main costs | Bridge fee + gas on both chains | Trading fee + flat ETH withdrawal fee |
| Learning curve | Medium — you manage networks and gas | Low — familiar app interface |
| Support if stuck | None — you’re on your own | Customer support exists |
| Best for | Self-custody users who value control | Beginners or large amounts |
The 6 Steps to Swap BNB to ETH
Here’s the full walkthrough. We’ll note where the bridge path and the exchange path diverge so you can follow whichever route you chose above. For a general bridging primer first, see our expert bridging walkthrough — the mechanics are the same even though that guide uses different chains.
Step 1: Set up a wallet that speaks both chains. The most common choice is MetaMask (browser extension or mobile app). Install it from the official source, create a new wallet, and write your 12-word seed phrase on paper — stored offline, never photographed, never typed into any website. Ethereum mainnet is there by default; add BNB Chain through the network menu. Your seed phrase controls the same 0x address on both networks, which is why step 6’s verification matters.
Step 2: Fund the wallet with BNB — plus a gas buffer. Get the BNB you want to swap onto BNB Chain in your wallet (buy it on an exchange and withdraw via the BNB Chain network, or receive it from another wallet). Now the critical part: do not plan to swap 100% of it. Keep roughly $1–2 worth of BNB untouched. Every transaction on BNB Chain costs gas paid in BNB, and if you convert your entire balance, you’ll be stranded with no way to pay for anything afterward. Think of it like keeping coins for the parking meter.
Step 3: Choose your route and prepare the destination. Bridge route? Open the bridge website by typing its URL yourself — never via a link from a message, email, or ad, however legitimate it looks. Exchange route? Log in, go to the deposit page, select BNB and the BNB Chain (BEP-20) network, and copy the deposit address. Triple-check the network label says BNB Chain.
Step 4: Execute the conversion. On a bridge: connect your wallet, set the source to BNB Chain / BNB and the destination to Ethereum / ETH, enter the amount, and study the quote screen first — it shows your ETH received, fee breakdown, and estimated arrival. On an exchange: send BNB to the deposit address, wait for confirmation, sell BNB for ETH with a simple market order, then withdraw — pasting your Ethereum wallet address and selecting the Ethereum network. Read that twice: the withdrawal network must be Ethereum.
Step 5: Wait for confirmations — don’t panic. Cross-chain moves aren’t instant. A bridge waits for BNB Chain finality, then its relayers deliver ETH on Ethereum — typically 5 to 30 minutes total. Exchanges need deposit confirmations plus withdrawal processing. If nothing shows after a few minutes, your funds are almost certainly in transit, not lost — look up the transaction hash on a block explorer to see where things stand.
Step 6: Verify the ETH actually arrived. Switch your wallet’s network selector to Ethereum mainnet and check your ETH balance. If you used an exchange, confirm the withdrawal shows as completed on their end too. And here’s the honest pro tip that belongs at step zero: for your very first swap — or any amount that would hurt to lose — send a small test amount first. Paying two sets of fees on a $10 test is infinitely cheaper than learning a lesson on your full stack.
Understanding Fees and Gas on Both Chains
Fees are where beginners get surprised, so let’s demystify them. You’re dealing with two separate fee markets, and they behave very differently.
BNB Chain gas is paid in BNB and it’s cheap — usually a few cents per transaction, with blocks finalizing in about 3 seconds. Approving a token, depositing to a bridge, sending BNB: all pocket change. This is the friendly side of the equation.
Ethereum gas is paid in ETH and priced in tiny units called gwei, and it fluctuates with network congestion. Simply receiving ETH costs very little, but the bridge’s delivery transaction on Ethereum can cost a few dollars’ worth of gas during busy periods. Depending on the bridge design, this is either deducted from the ETH you receive or quoted upfront — either way, it comes out of your pocket, so factor it in.
On top of gas, expect a service fee: bridges take a small cut (often well under 1%) for liquidity providers and relayers, while exchanges charge a trading fee (commonly ~0.1%) plus a flat ETH withdrawal fee. That flat fee can exceed the trading fee several times over on some exchanges — always check the fee schedule before committing to the exchange route.
On a $500 swap, the bridge route might cost a dollar or two in BNB Chain gas, a few dollars in Ethereum gas, plus a small protocol fee. The exchange route might cost a sub-dollar trading fee but a flat withdrawal fee of several dollars in ETH. Neither is universally cheaper — it depends on the amount, the fee tier, and Ethereum congestion. And once more: never swap your entire balance. Leave gas buffers on both sides.
Slippage, Timing, and Getting a Good Rate
Two concepts quietly eat into beginners’ swaps: slippage and timing. Both are easy to manage once you understand them.
Slippage is the gap between your quoted price and your executed price. Prices move constantly, so your slippage tolerance setting tells the protocol how much movement you’ll accept before it cancels the trade. For BNB-to-ETH — both deep, liquid assets — 0.5% to 1% is usually plenty. Only raise it if transactions keep failing, and distrust any guide urging sky-high tolerance: that’s how bots extract value from your trade.
Timing matters in two ways. First, bridge quotes are typically valid for a short window — don’t start a swap, get distracted for an hour, and then confirm a stale quote. Second, Ethereum gas prices swing throughout the day with network demand. If gas is spiking when you’re about to swap, waiting an hour or two can save you real money; a gas tracker (type the URL yourself or use one built into your wallet) shows you current prices at a glance. There’s no “best” hour that works forever, so check live conditions rather than following a rule of thumb.
One more timing tip for larger amounts: consider splitting your swap into two or three smaller transactions. Smaller swaps suffer less slippage, and if anything goes wrong — a typo’d address, a wrong-network selection — you’ve limited your exposure to one fraction of the total. On Ethereum specifically, it’s also worth knowing that automated bots watch pending transactions and can profit from the price impact of yours, a practice called MEV; our guide on protecting your swaps from MEV bots explains the simple precautions worth taking.
Common Mistakes and Safety Checks
Most lost funds in cross-chain swaps come from a short list of avoidable errors. Run through these before every swap and you’ll sidestep nearly all of them.
Mistake 1: Sending on the wrong network. This is the expensive classic. Your 0x address is identical on both chains, so nothing stops you from withdrawing over the BNB Chain network to a wallet expecting Ethereum mainnet. Assets land on the wrong chain, and recovery ranges from a support headache to impossible. Confirm the network in your wallet and on the bridge or exchange — both ends — before confirming.
Mistake 2: Fake bridge and wallet sites. Scam sites clone real bridges pixel-for-pixel, down to the logo and the layout. The only reliable defense is typing the URL yourself and bookmarking it afterward. Never connect your wallet through a link from a direct message, an email, a search ad, or a social media comment — those are the four horsemen of crypto phishing.
Mistake 3: Fake tokens. After your swap completes, make sure you’re holding genuine native ETH and not a scam token with a confusingly similar name. If anything looks off — a token you didn’t expect appearing in your wallet — check its contract address on an Ethereum block explorer before interacting with it, and never approve spending for tokens you don’t recognize.
Mistake 4: Careless token approvals. Bridges sometimes ask you to approve token spending before the swap. Prefer approving limited amounts over unlimited allowances, and periodically revoke approvals you no longer need. An unlimited approval to a compromised contract is an open door.
Mistake 5: Skipping the test transaction. We said it in the steps and we’ll say it again: for your first swap, or any amount that would hurt to lose, send a small test first. It’s the cheapest insurance in crypto.
Your pre-flight checklist — run it every time:
- Correct network selected on both ends (BNB Chain to send, Ethereum to receive)
- Bridge or exchange URL typed manually and bookmarked — never reached via a link
- Receiving address copy-pasted and double-checked (compare the first and last 6 characters)
- Small test amount sent first for new routes or large sums
- Gas buffers left untouched on both chains
- Quote reviewed: received amount, fees, and arrival estimate all look sane
FAQs
The Bottom Line
Swapping BNB to ETH is straightforward once you understand that you’re converting across two separate blockchains, not sending within one. Pick a bridge for control and privacy, or a centralized exchange for simplicity and support; keep gas buffers on both sides; test with a small amount first; and triple-check your networks every single time. Do those things and your first cross-chain swap will feel far less intimidating than it sounds.
This guide is for education only — not financial advice.

1 Comment
Pingback: How to Wrap Bitcoin (wBTC) in 2026 - 6-Step Guide